
There comes a time when you make the difficult decision to remove your wallpaper. If you're ready to trade your outdated design for a more on-trend option (we love the range of removable styles online right now), we have you covered. But first, ditch all of the horror stories you've heard about removing wallpaper. It's actually not as difficult as you might think.
We checked in with wall-covering installation expert George Kovacs, of New York-based 78 and Sunny Wallpapering, who confirmed that the process of stripping wallpaper is pretty straightforward. “If the paper hanger used the right primer, the wallpaper should come up very easily,” Kovacs says. If they didn’t properly hang the paper, that's when you can run into problems, says Kovacs, who has handled some of the world's finest wallpapers, and is a go-to expert for interior design mavens and pro architects.
Scroll down for a look at Kovacs' simple steps that will leave your walls stripped and ready for a new look in no time. You'll even be tempted to give wallpaper another try.
1 Protect Your Space.

Before you begin removing wallpaper, it's important to protect the other surfaces in the room from the water and soap you'll be using during the process. Be sure to use painter's tape to completely cover trim and moulding, and HGTV recommends laying a drop cloth on the floor to protect the finish.
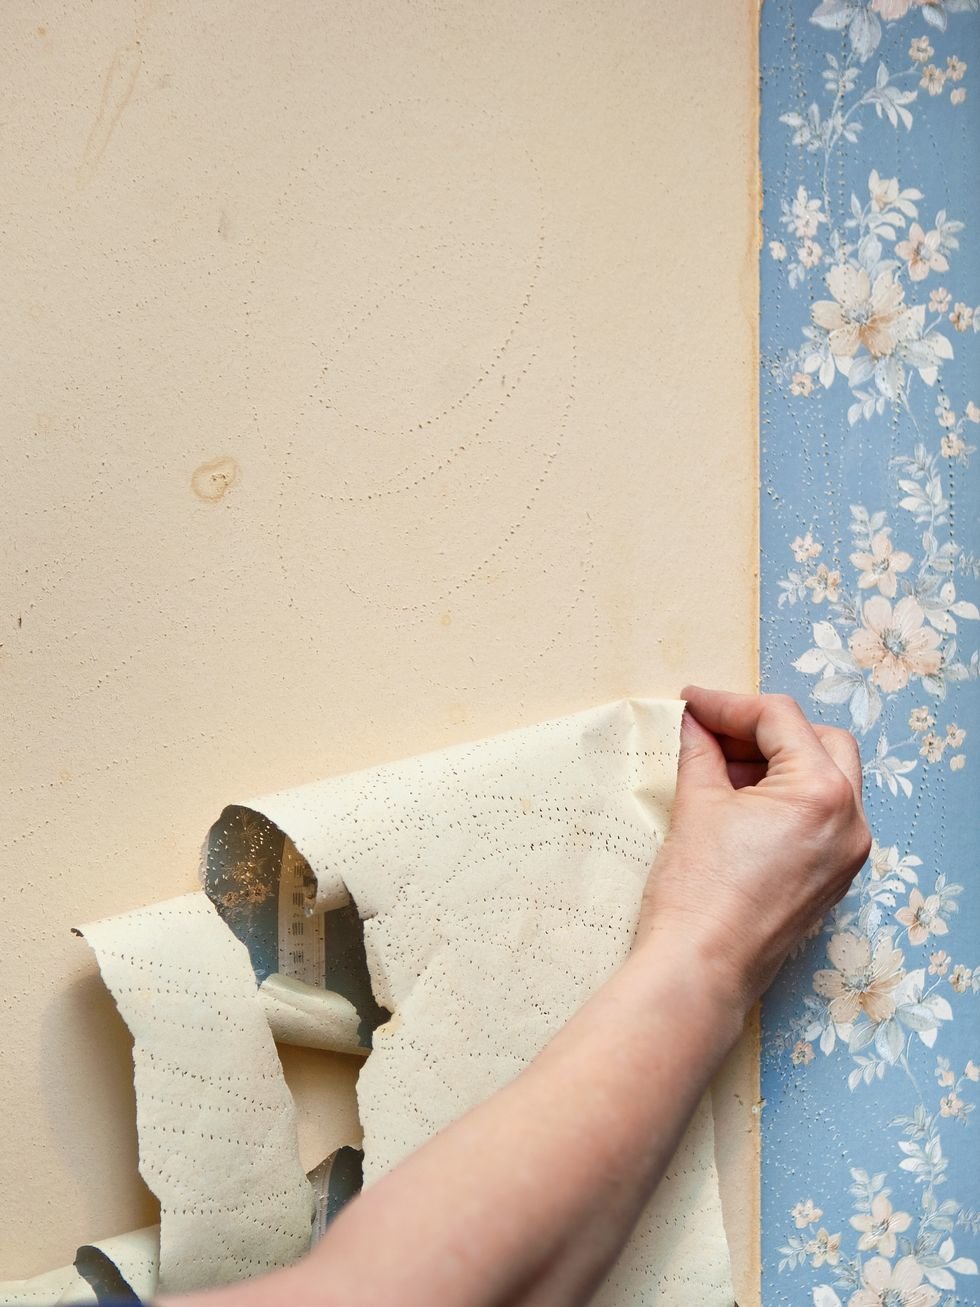
2 Scrape It Off.
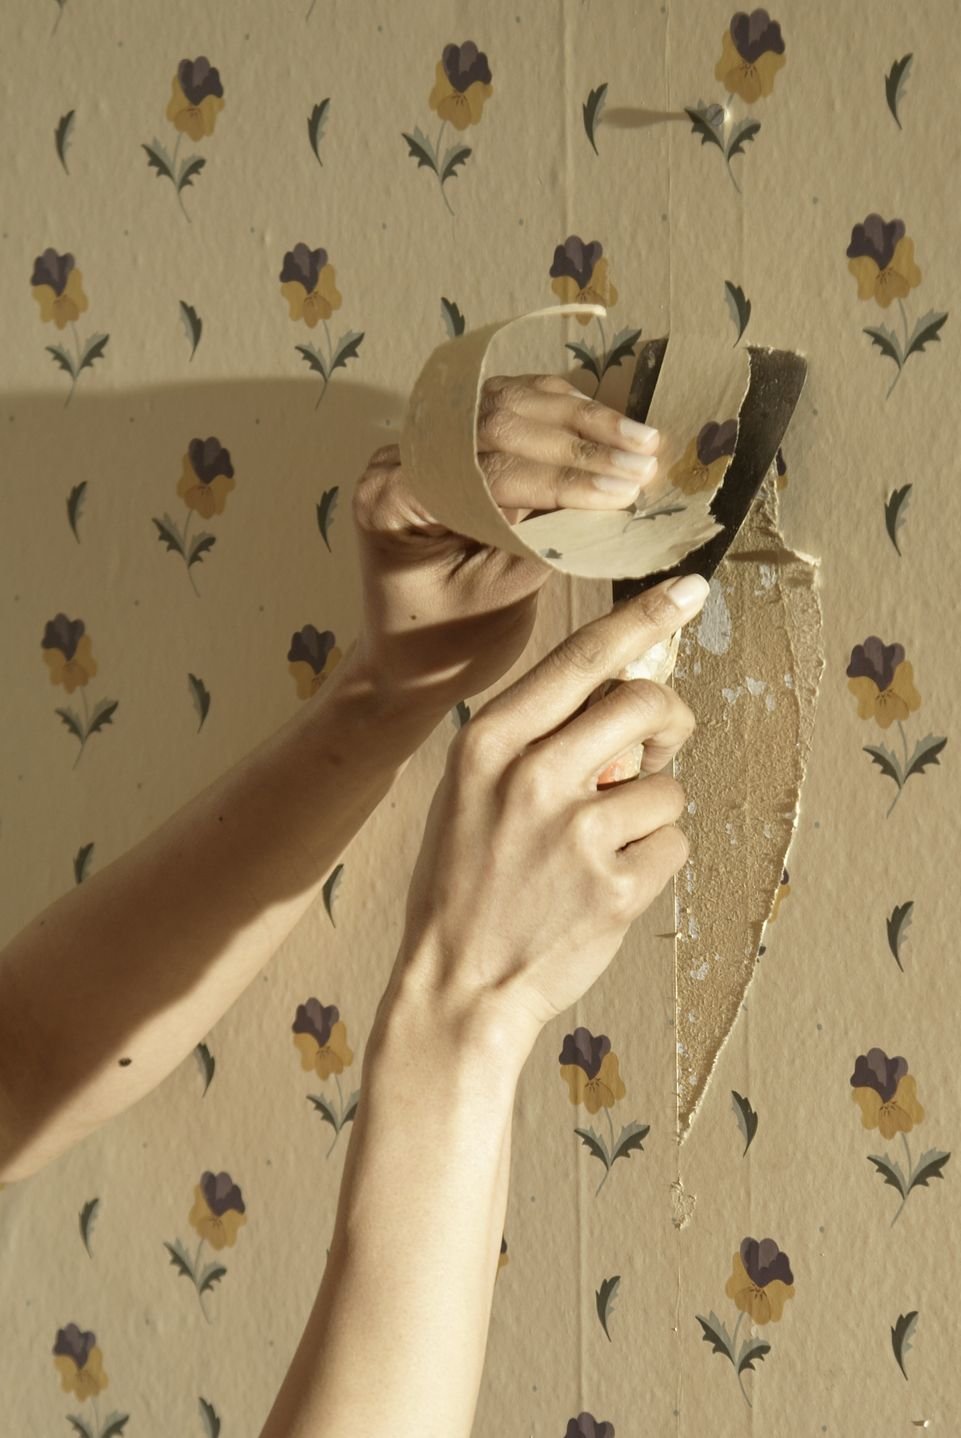
In some cases, your old wallpaper might already be starting to pull free of the walls. You can start the process by trying to remove the wallpaper by hand without any water. "Using a taping knife-the same thing you use for patching walls-find the edge and try to scrape it off," Kovacs says.
3 Spray the Wall.
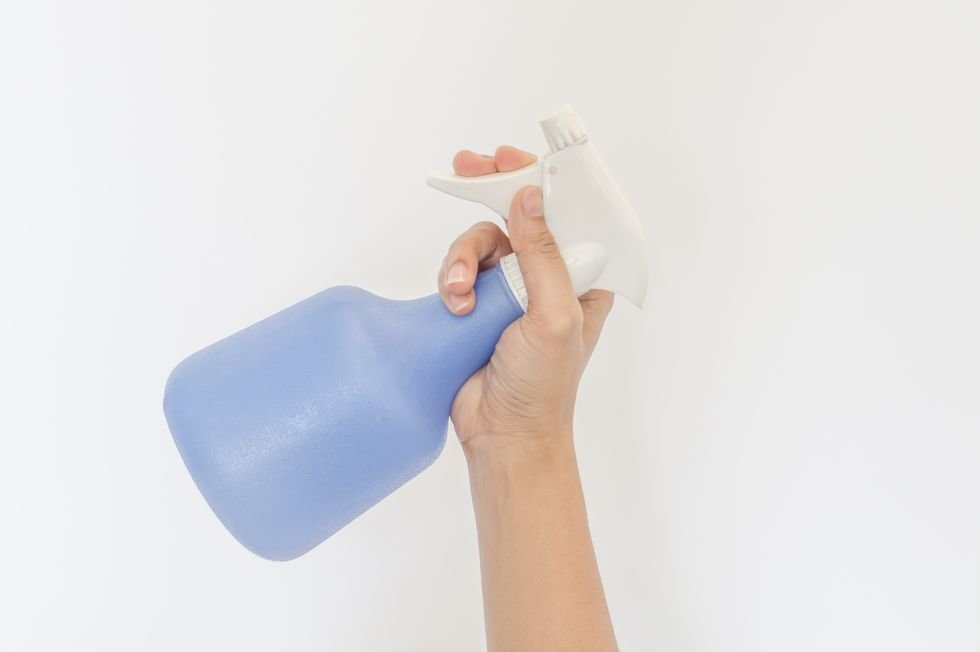
Eventually, you'll run out of paper you can peel by hand or with the knife. At this point, you'll need to spray the wall. Kovacs recommends spraying the paper with warm water to help separate it from the wall. Any generic spray bottle will do, but a vacuum sprayer might speed up the process. In tough cases, a steamer will be your best bet. Cover the floors with plastic or a drop cloth, and generously spritz the entire wall.
4 Scrape Some More.
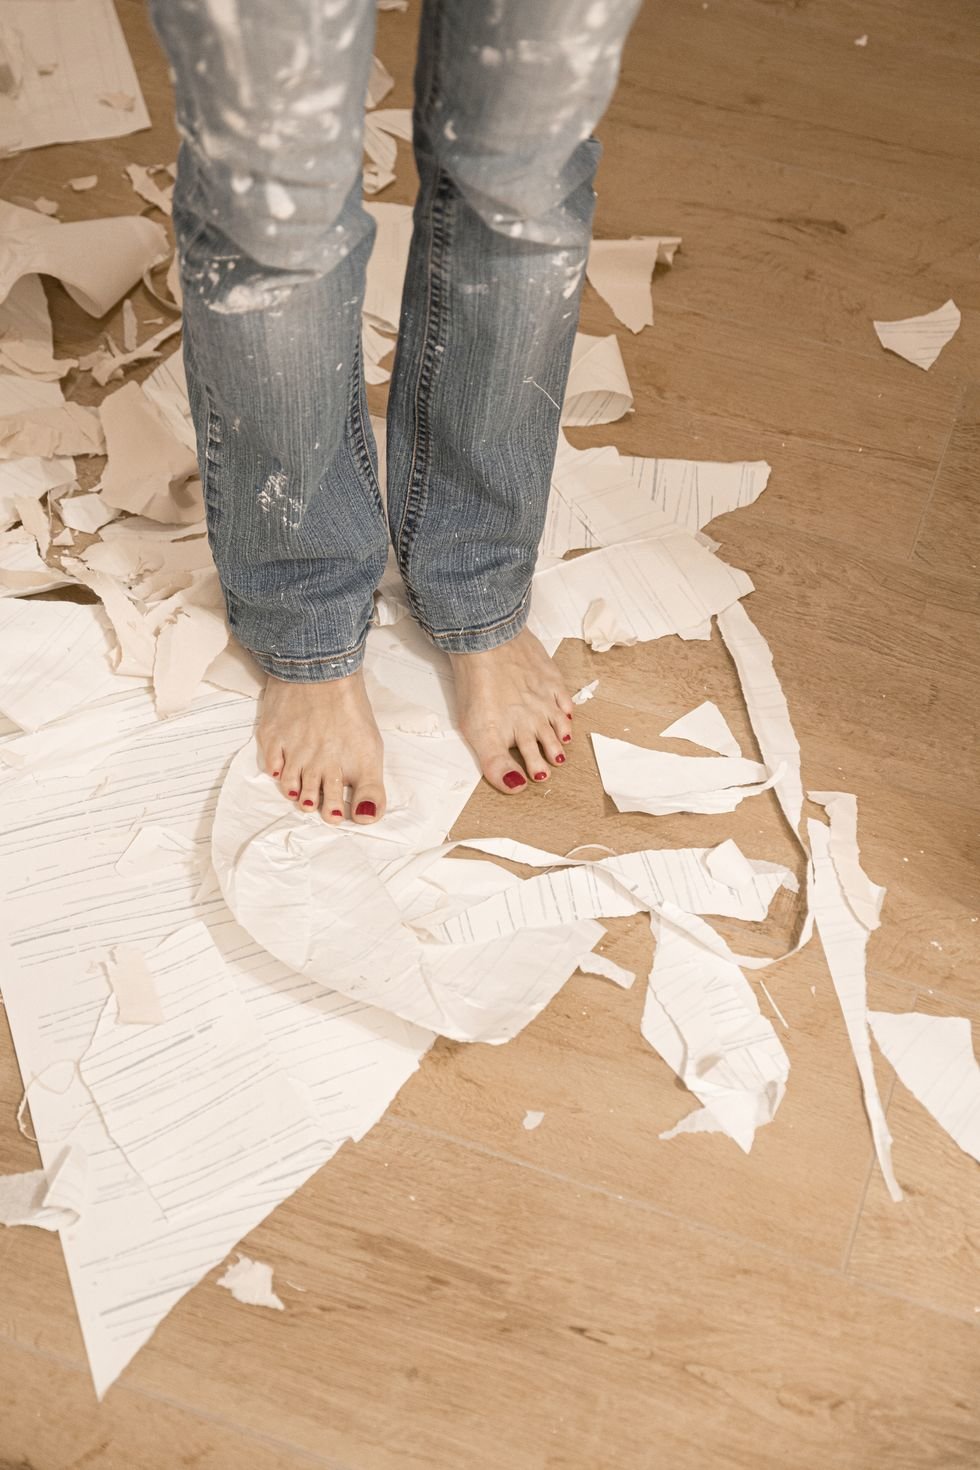
After letting the water soak in for a few minutes, you can start to scrape off the paper. Use the same taping knife, gently strip the wallpaper, either left-to-right or up-and-down, depending on what feels easiest. If you're still experiencing difficulty, consider spraying the wall several times.
Be careful not to scratch the wall underneath, which could cause problems later on. If you find another layer of wallpaper, finish the first layer and then move on to the second-you can only remove one layer at a time without causing damage.
5 Wash It.
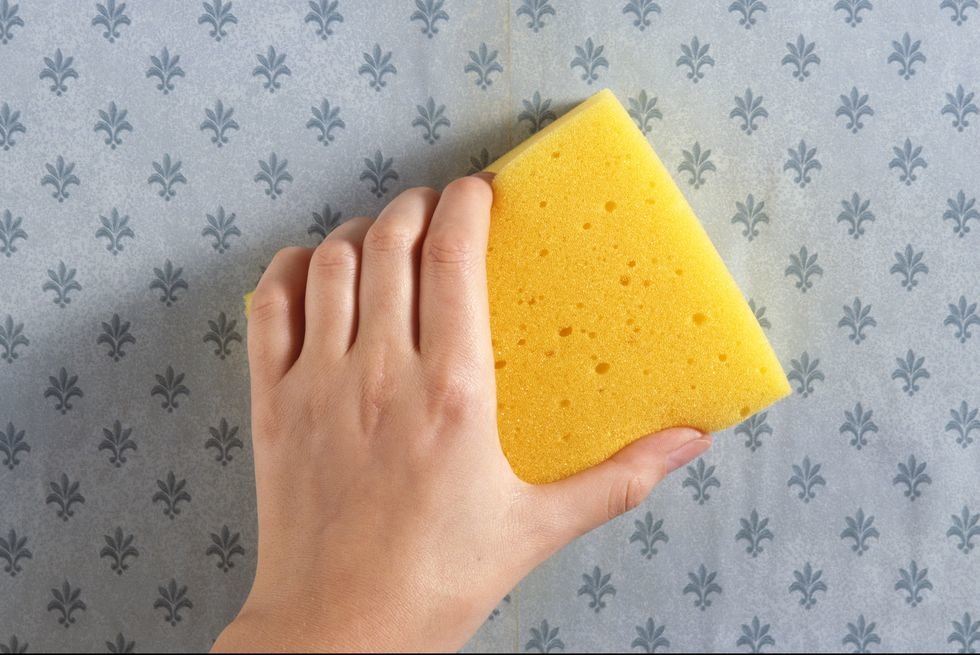
Once all the paper is gone, it is time to wash the wall so you can remove any excess primer or paste. Kovacs recommends dampening a sponge with water and going over the wall several times. Believe it or not, this is the most important step in the entire process.
“It doesn’t matter how good you took off the paper, if you don’t wash off the old paste you are going to have problems when you try to paint or re-wallpaper,” he advises.
6 Smooth It.
Even tiny specks of paste can derail your next wall treatment. According to the Family Handyman, "If you don’t get it all off, when you paint the wall, the paint will eventually flake and crackle. Wallpaper that’s applied over it will bubble or fail to stick properly."
To combat the problem, apply gel stripper to any lingering patches of paste, then scrape it free of the wall to make sure the plaster is smooth as can be.
7 Refresh It.
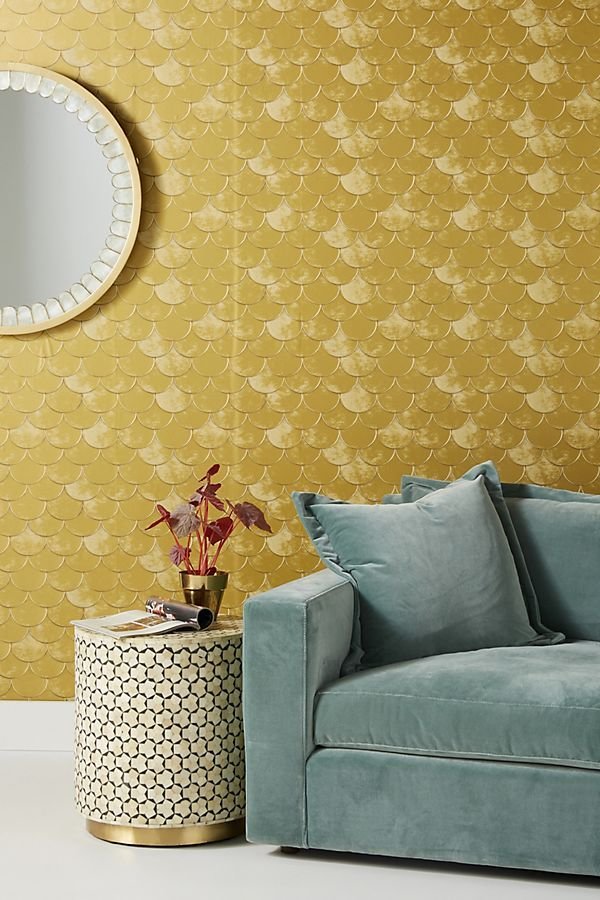
Once completed all the hard work of removing your faded wallpaper, you finally get to enjoy your reward: choosing a gorgeous new design. Keep things simple with a coat of paint, or revamp the space with a creative, inspired wallpaper pattern.


![A Tranquil Jungle House That Incorporates Japanese Ethos [Video]](https://asean2.ainewslabs.com/images/22/08/b-2ennetkmmnn_t.jpg)


