
Hydroponics, or gardening without soil, is a fun way to grow herbs and vegetables indoors or outside. In fact, it’s a technique that’s been around a lot longer than you might imagine! Although it’s difficult to verify historically, it’s believed people have been experimenting with growing things without soil dating all the way back to the Hanging Gardens of Babylon and the Aztec floating gardens.
In the last few decades, hydroponics has skyrocketed in popularity. It’s relatively easy to grow all kinds of vegetables and fruit hydroponically. There’s also no weeding required! If you want to keep it simple, there are many pre-fab kits you can purchase to grow plants without soil. There also are plenty of DIY techniques, too.
Most DIYers stick with what's called a passive hydroponic system, which relies on the plant’s ability to suck up water without needing a pump or aerator. These systems can be built from plastic buckets or tubs. However, it’s important to understand that hydroponics isn’t just about sticking your plants in water and hoping for the best: You’ll need to pay attention to the plant’s nutrient and pH needs in order to have a successful crop.
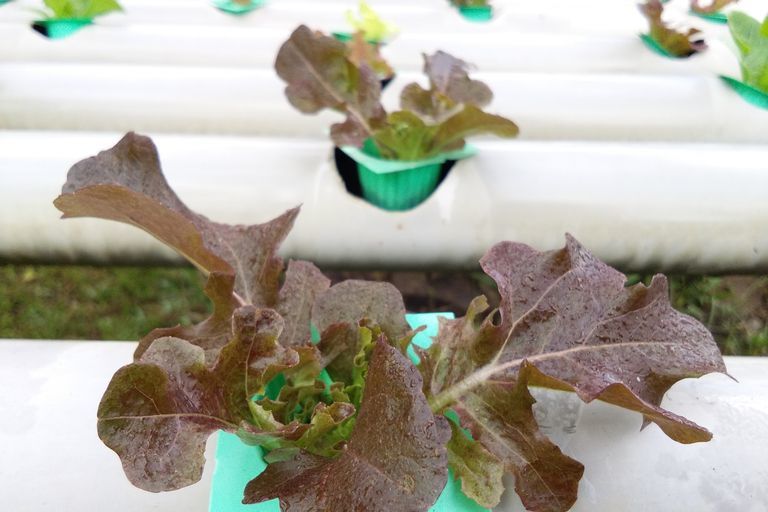
Plants that are harvested frequently tend to do best in passive hydroponics systems. That includes lettuce, kale, Swiss chard, strawberries and non-woody herbs such as basil, oregano, mint, and thyme. Plants such as cukes and tomatoes must be monitored closely in order for the plant to produce well in a hydroponics system, so they’re not the best for beginning hydroponic gardeners.
Here’s what else you need to know about making a DIY hydroponic garden:
You can build a DIY hydroponics system yourself.
You don’t need to spend thousands to build a hydroponic garden. Many university coop extension services offer free, detailed plans for creating a hydroponic system with basic supplies such as vinyl fence posts or 5-gallon buckets. Vertical hydroponic towers are especially easy to build. Or you can create a simple floating garden with 2 x 6 treated lumber and plastic sheeting. You also can try creating a mini-garden using a 5-gallon bucket. Outdoors, you’ll place your garden in full sun (6 or more hours of direct sunlight); indoors, you’ll need supplemental lighting such as LED grow lights.
Start with sterile seedlings or cuttings.
It’s not as simple as going to the nursery and picking up a few seedlings. You cannot place any plant in your hydroponic garden that has been in contact with soil, which can introduce harmful microbes into your system. Many different types of grow media are used to start plants, but an inexpensive option for home gardeners is to start cuttings or seeds in rockwool cubes, which will hold water and nutrients well.
Watch what kind of water and fertilizer you use.
Tap water be softened or may have high levels of chlorine which will harm some plants. If you can, use distilled or bottled water. If you do use tap water, let it sit in a bucket for 24 hours first. This will help some of the chemicals dissipate. Also, it’s easiest to use premixed water-soluble hydroponic fertilizer to ensure you get the right combination of nutrients. These products also are designed to dilute properly so they won’t clog up pumps, if you’re using one.
Check your pH level.
The pH level is important because it affects nutrient availability for your plants. Most plants in a hydroponic garden will grow well in a solution with a 5 to 6 ph range. This typically allows plants optimal nutrient uptake. If you need to lower the pH, you can use white vinegar at a ratio of 2 teaspoons per gallon of water. Inexpensive pH strips are a great tool for monitoring your pH levels on a regular basis.


![A Tranquil Jungle House That Incorporates Japanese Ethos [Video]](https://asean2.ainewslabs.com/images/22/08/b-2ennetkmmnn_t.jpg)


